
No products added!
September 12, 2026
0
The moment your concealer settles into fine lines or your foundation gathers around your smile, a fresh, confident look can suddenly feel less polished. Makeup creasing prevention is not about piling on more product. It is about giving your skin the right balance of hydration, texture, and lightweight coverage so your glow stays beautifully yours.
Creasing happens to every skin type, every age, and every makeup style. Expression lines move because your face moves – that is normal and beautiful. The goal is not to erase every natural line. It is to keep makeup from collecting, cracking, or looking heavier as the day goes on.
Why Makeup Creases in the First Place
Most creasing comes down to product buildup and mismatched layers. A rich moisturizer, a gripping primer, full-coverage foundation, and a generous amount of powder can each be lovely on their own. Layered without intention, though, they may sit on the skin rather than blend into it.
Dryness can create creasing because makeup catches on uneven texture. Too much moisture can also cause trouble, especially if skincare has not had time to settle before makeup begins. Oilier areas may break through products by midday, while the under-eye area can look dry and folded at the same time. That combination is why one routine does not work for every part of the face.
Your formula choices matter, too. Thick concealers and fast-drying matte foundations can emphasize lines when applied heavily. Dewy formulas may move more easily on very oily skin. The right finish depends on your skin, the weather, and the look you love, not on a one-size-fits-all rule.
Start With Smooth, Comfortable Skin
Great makeup wear begins before foundation. Cleanse away excess oil, sunscreen residue, and overnight skincare, then use a moisturizer that leaves your skin soft rather than slippery. If your complexion feels tight after cleansing, makeup is more likely to cling. If it feels coated, makeup may slide and gather.
Give skincare a few minutes to absorb before applying makeup. This small pause makes a noticeable difference, particularly with richer creams, facial oils, and mineral sunscreen. If you prefer an extra radiant base, press a small amount of brightening serum or lightweight moisturizer onto dry areas first. Keep the center of the face lighter if that is where you tend to get shiny.
Exfoliation can help makeup sit more smoothly, but it should be gentle and occasional. Over-exfoliating can leave skin sensitized, dry, and more textured-looking under makeup. Think of it as a skin-care reset, not a daily fix for foundation problems.
Choose Primer by Concern, Not Habit
Primer is optional, but it can be a helpful step when you choose it with purpose. A hydrating primer can soften the look of dry patches. A blurring primer may help foundation look smoother around pores. A shine-controlling primer can support makeup through a long, warm day.
You do not need the same primer everywhere. Try a smoothing layer around the nose, a tiny amount of hydrating primer beneath the eyes, and little or none on areas that already wear well. The best base feels light, comfortable, and ready for color – never overly slick.
Apply Less Than You Think You Need
The easiest makeup creasing prevention habit is using thin layers. Start with a small amount of foundation at the center of the face and blend outward. Build only where you want more coverage, such as redness around the nose or areas of uneven tone.
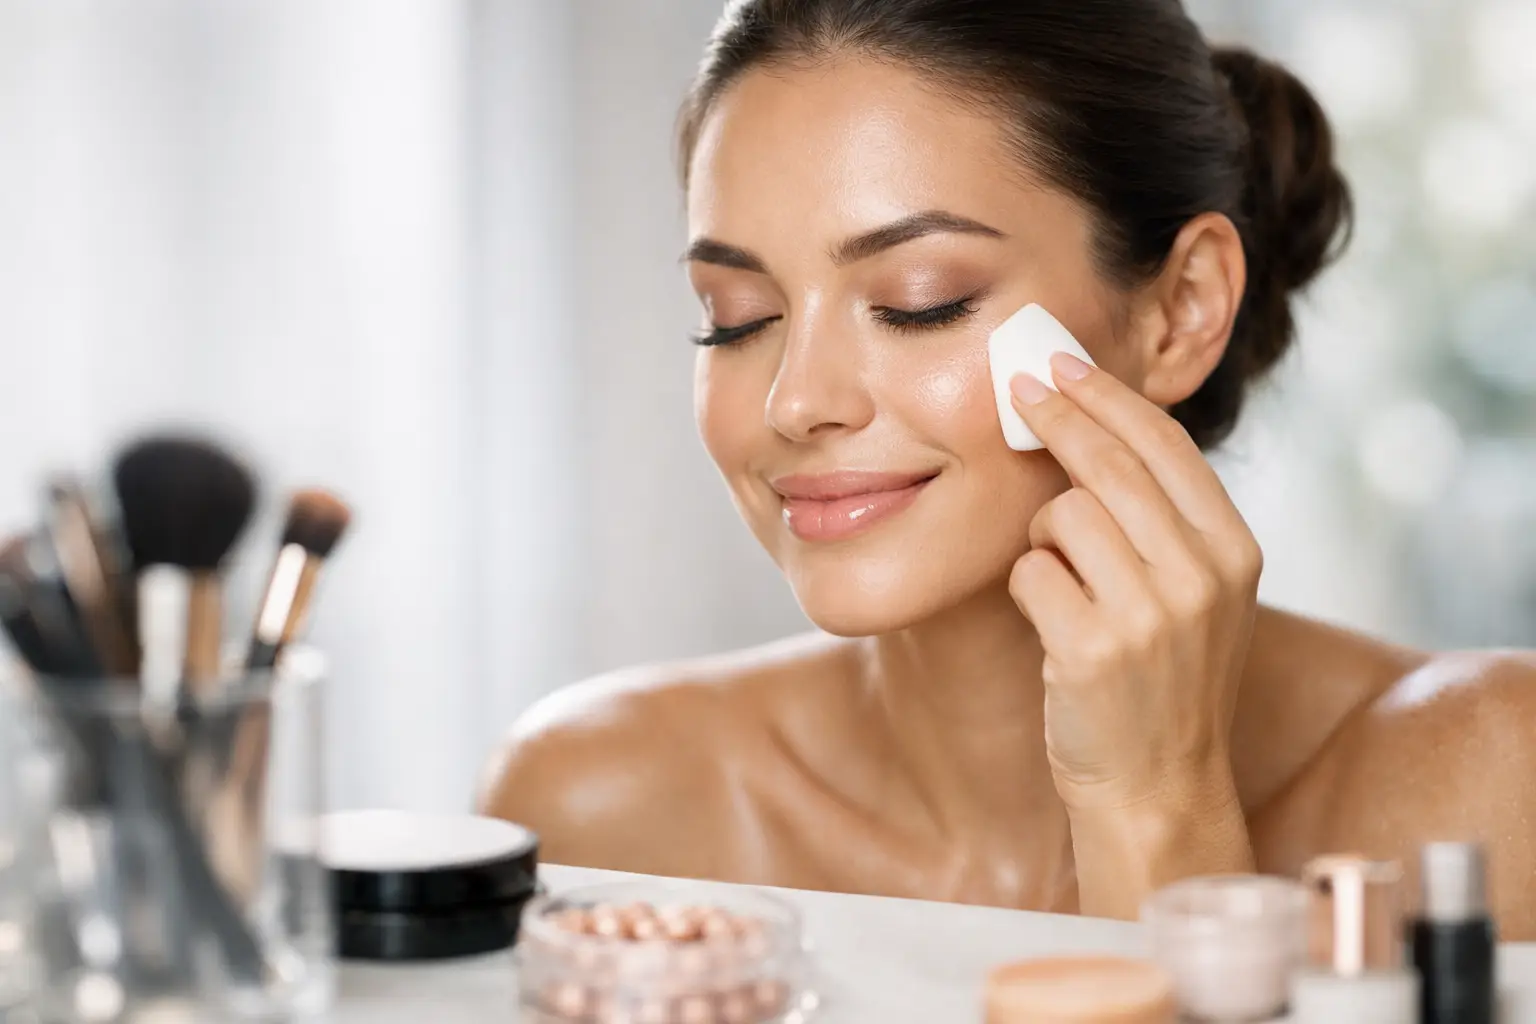
A damp makeup sponge gives a soft, skin-like finish because it presses product into the complexion. A brush can provide more coverage, especially with matte foundation. Either tool works when you use a light hand. The problem is rarely the sponge or brush itself. It is usually applying a full face of coverage before checking what your skin actually needs.
For concealer, place product only where darkness or discoloration needs brightening. Under the eyes, begin close to the inner corner and blend outward in a thin veil. A large, opaque triangle of concealer can look striking at first, but it often gives product more places to settle later.
After blending, look straight ahead and smile softly. If you see a crease starting, gently tap it out with a clean finger, sponge, or small brush before setting. This step takes seconds and stops powder from locking a fold into place.
Set Strategically, Not Heavily
Powder is a finishing tool, not a mask. It can help reduce shine and extend wear, but too much can make the under-eyes, smile lines, and forehead look dry or textured. Use a small fluffy brush or puff to press a finely milled setting powder into the areas that move or get oily most.
If your under-eye area tends to crease, use the smallest amount of powder possible after smoothing out any lines. Let the concealer do the brightening; let the powder simply support it. A translucent powder is often a flexible choice, while a tinted powder can add a little more coverage. Both can work beautifully when kept light.
Then bring back life to the complexion with cream or powder blush, bronzer, and a soft highlight where you like radiance. If you use cream color products, apply them before powder whenever possible. Mixing multiple creamy layers over a fully powdered base can disturb your foundation and create patchiness.
Use Setting Spray the Right Way
A setting spray helps melt the powdery look of makeup together and can refresh the finish. Hold it at a comfortable distance and mist lightly rather than soaking the face. Let it dry without touching or fanning aggressively.
For long days, you can mist once after foundation and concealer, then again after the rest of your makeup. If you live in a humid climate or have oilier skin, choose a setting spray made for longer wear. If your skin is dry, look for one that supports a fresh, hydrated finish instead of a flat matte look.
Pay Attention to High-Movement Areas
Your face is not still, so your routine should respect that. The under-eyes, sides of the nose, smile lines, eyelids, and chin are the places most likely to show settling. These are also the areas where a lighter touch makes the biggest difference.
On the eyelids, begin with a thin eye primer or a light dusting of powder if your lids become oily. Keep cream shadow layers thin, especially in the crease of the eye. For smile lines, avoid dragging heavy foundation deep into the fold. Blend foundation up and around the area, then add the smallest touch of product only if needed.
Blotting papers are a smart carry-along for midday touch-ups. Press them onto shine before adding more powder. Applying fresh powder over oil can create a thick, uneven surface, while blotting first helps your makeup look smoother and more natural.
Adjust Your Routine for Your Skin and Your Day
For dry skin, focus on comfortable hydration, creamy formulas, and minimal powder. For oily or combination skin, use lightweight hydration, targeted primer, and powder only where shine appears. Mature skin often looks its most radiant with sheer, flexible layers that allow natural skin to show through instead of trying to cover every line.
Weather changes the equation. A winter routine may need more moisture and less powder. A hot summer event may call for a lighter foundation, a shine-controlling base, and a long-wear setting spray. If you are getting ready for photos, an evening out, or a regular workday, your ideal level of coverage may change as well.
Do not be afraid to edit a product out of your routine. Sometimes the secret to a smoother finish is not buying another step. It is using fewer layers, choosing products that feel good on your skin, and giving each one time to settle.
Your makeup should move with you through smiles, conversations, errands, celebrations, and every little confidence-building moment. Build your routine around comfort first, then let your favorite glow, soft color, and elevated finish do the rest.